毕节市网站建设_网站建设公司_内容更新_seo优化
Rust 是一种系统级编程语言,以其安全性、速度和内存控制能力而闻名。为了方便开发者更好地了解并利用 Rust 标准库和工具链中的功能,Rust 提供了一种内置的文档浏览方式——通过 rustup doc 命令。
安装 rustup
在查阅 Rust 文档之前,确保你已经在开发环境中安装了 rustup 工具链管理器。如果你还没有安装,请访问 Rust 官方网站 获取安装指南。
安装完成后,查阅本地文档步骤:
-
打开终端(对于 Windows 用户是命令提示符或 PowerShell;对于 macOS 和 Linux 用户则是终端窗口)。
-
运行以下命令来查看本地 Rust 文档:
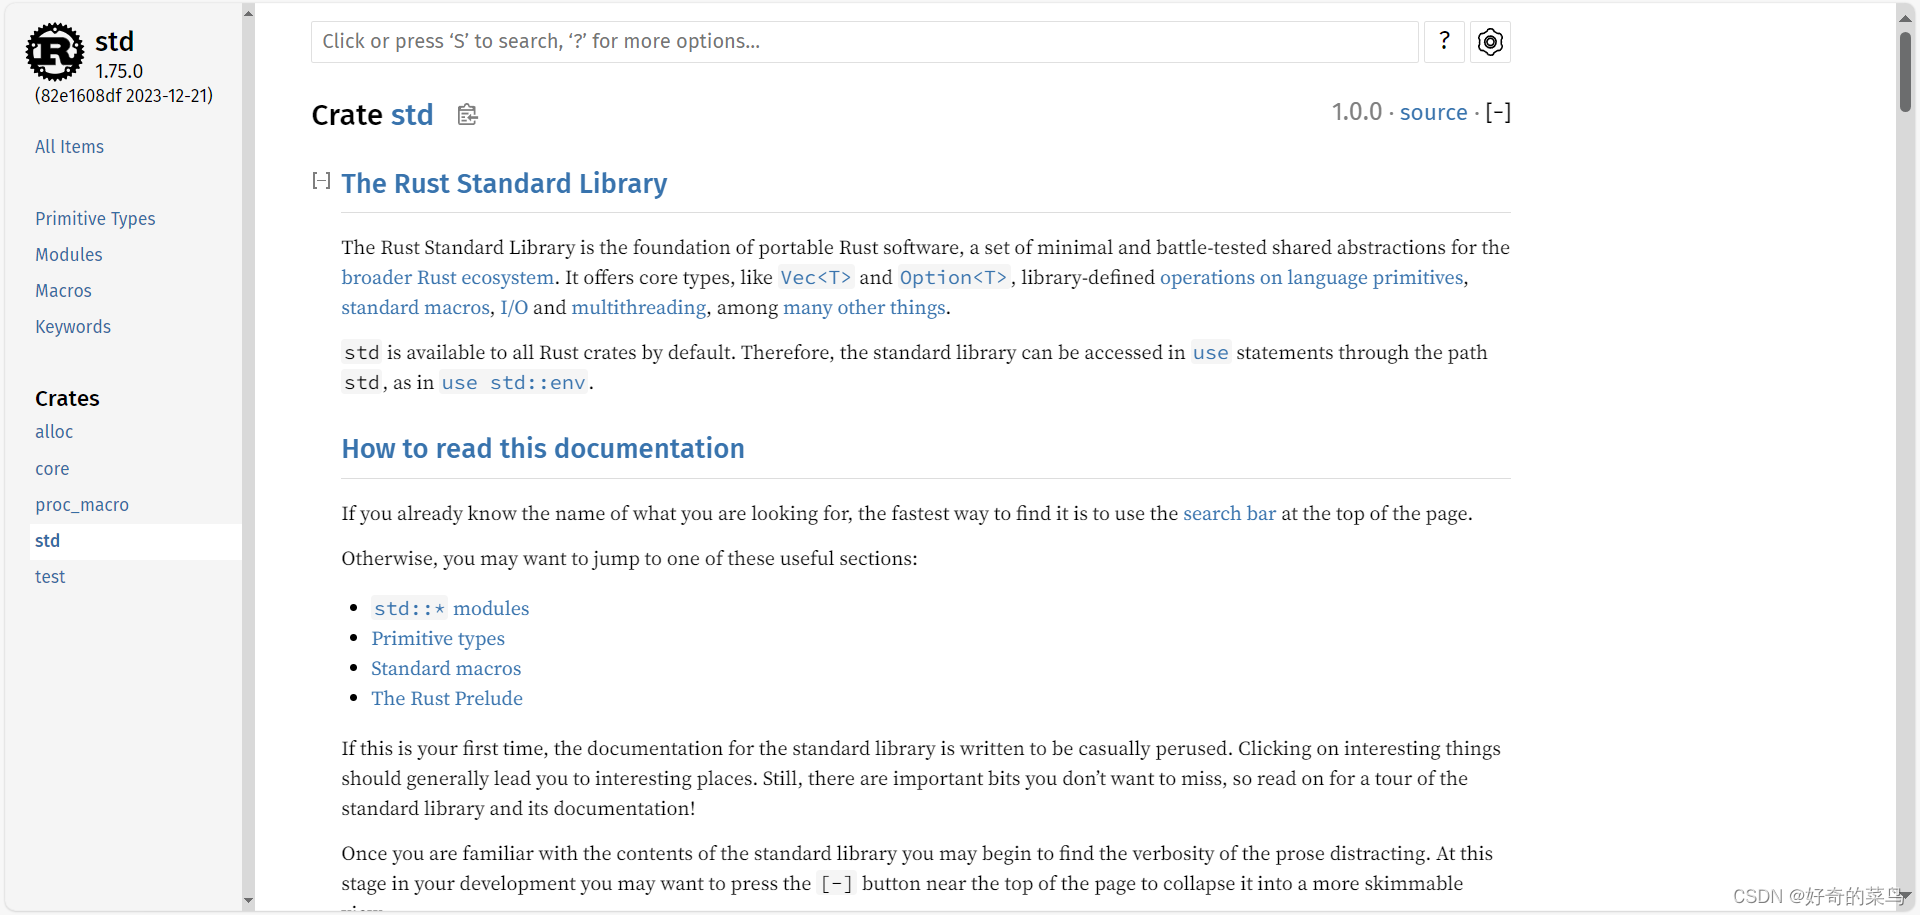
rustup doc

或者,如果你想直接打开特定组件(如标准库)的文档:
rustup doc std
若要查看 Rust 语言参考(The Rust Reference):
rustup doc reference
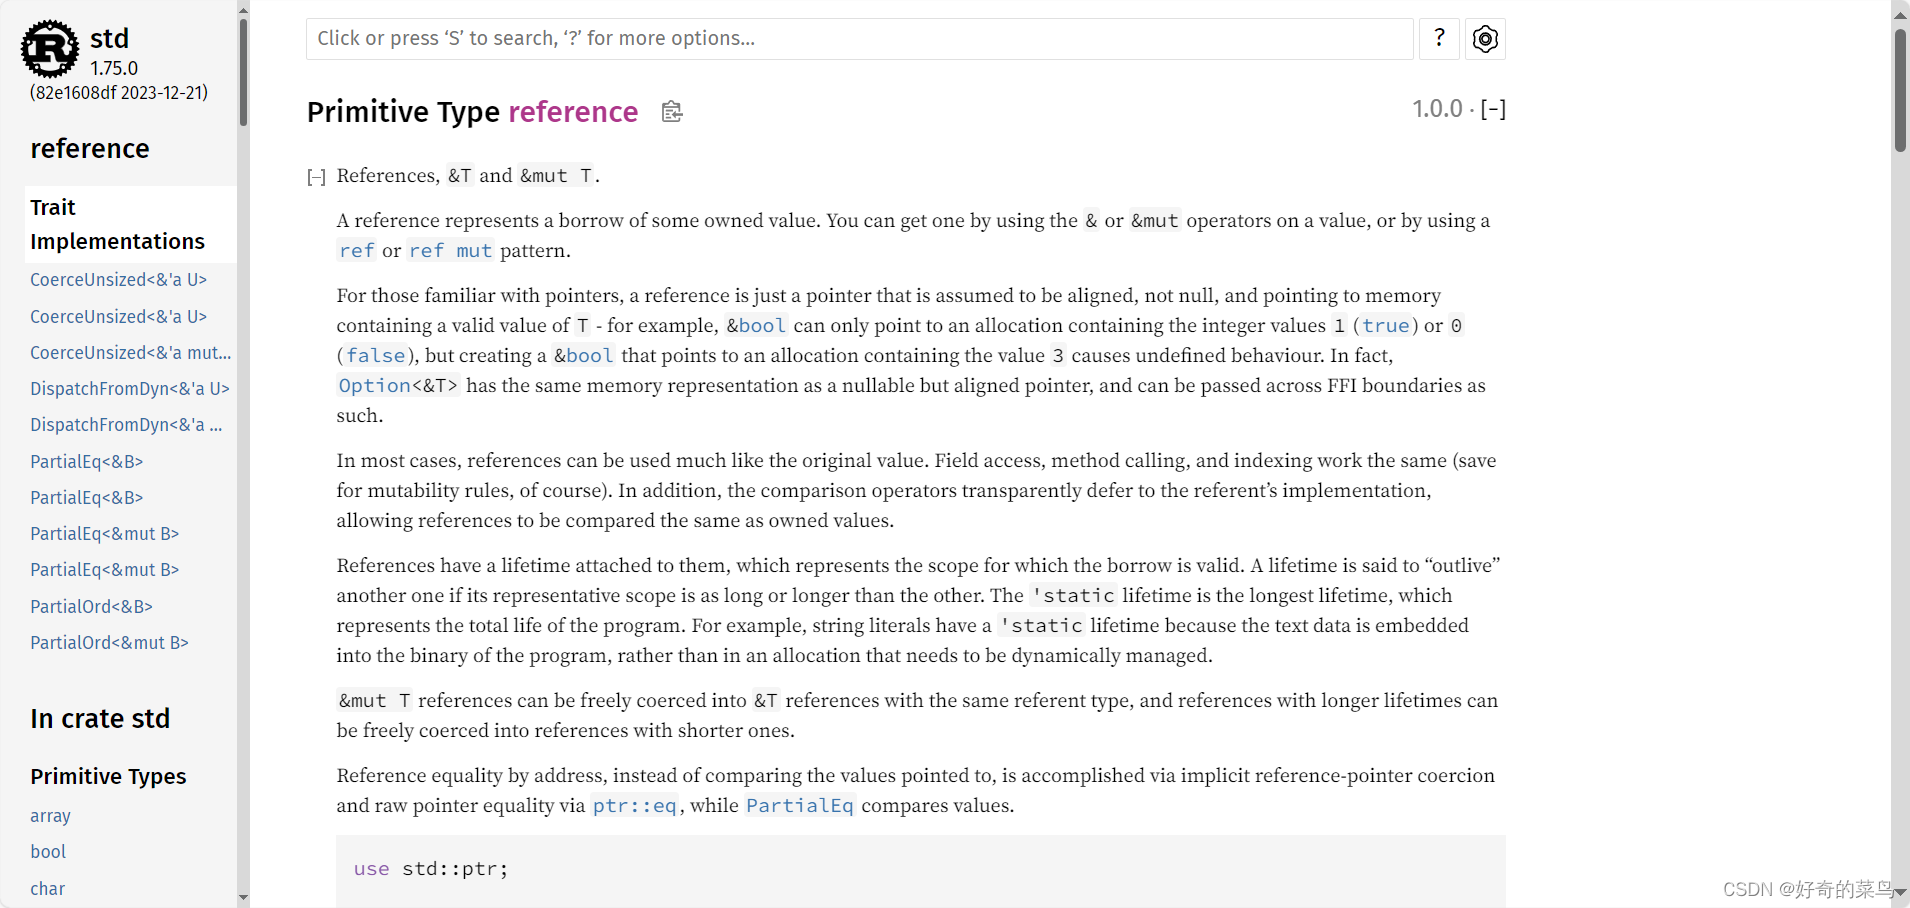
运行上述命令后,Rust 将会在默认浏览器中打开相应的本地 HTML 文档,展示详细的 API 参考、语言特性描述、最佳实践以及示例代码等内容。
文档特点
-
实时更新:
rustup doc显示的是与当前安装的 Rust 版本相对应的文档,确保信息始终是最新的。 -
离线可用:文档已包含在 rustup 的安装包内,即使在无网络环境下也能查阅。
-
交互式搜索:在线文档提供了强大的搜索功能,帮助快速定位到所需的模块、函数或类型定义。
-
结构清晰:文档内容按照模块组织,层次分明,便于理解和学习 Rust 生态系统的各个部分。
总结起来,rustup doc 是 Rust 开发者不可或缺的工具之一,它让开发者可以轻松地获取官方权威的 Rust 文档资源,并保持与 Rust 发展同步的学习体验。